Showing posts with label handmade. Show all posts

Tuesday, 1 September 2015

Needle felted Christmas Baubles

In the run up to Christmas last year, just before I started my Maternity leave,  my boss asked me to make her a set of christmas baubles.

Lucky for her I had recently purchased some gorgeous white and burgundy wool batts from a stall at the Yarndale festival in September,  and had been looking for an excuse to use it! (Yarndale is an annual event held at Skipton Auction Mart, North Yorkshire - just a ten minute drive away from my home).

For these baubles, I used 8cm polystyrene balls and I wet felted the wool around the balls.  When they were dry I needle felted the details on.

I made a set of 12 matching/ contrasting balls and I was rather sad to part with them.  I think I'll make myself a set this year!

Thursday, 15 August 2013

Needle Felt Gruffalo Mouse

Right, I decided to get my back side into gear & make a start on the other Gruffalo characters. I thought I'd opt for the "little brown mouse". I meant to take more pictures at each stage, but I got so enthralled in it that I forgot! Sorry! I promise I will take more on my next project. So again with this one, I started the basic shape using cushion stuffing:
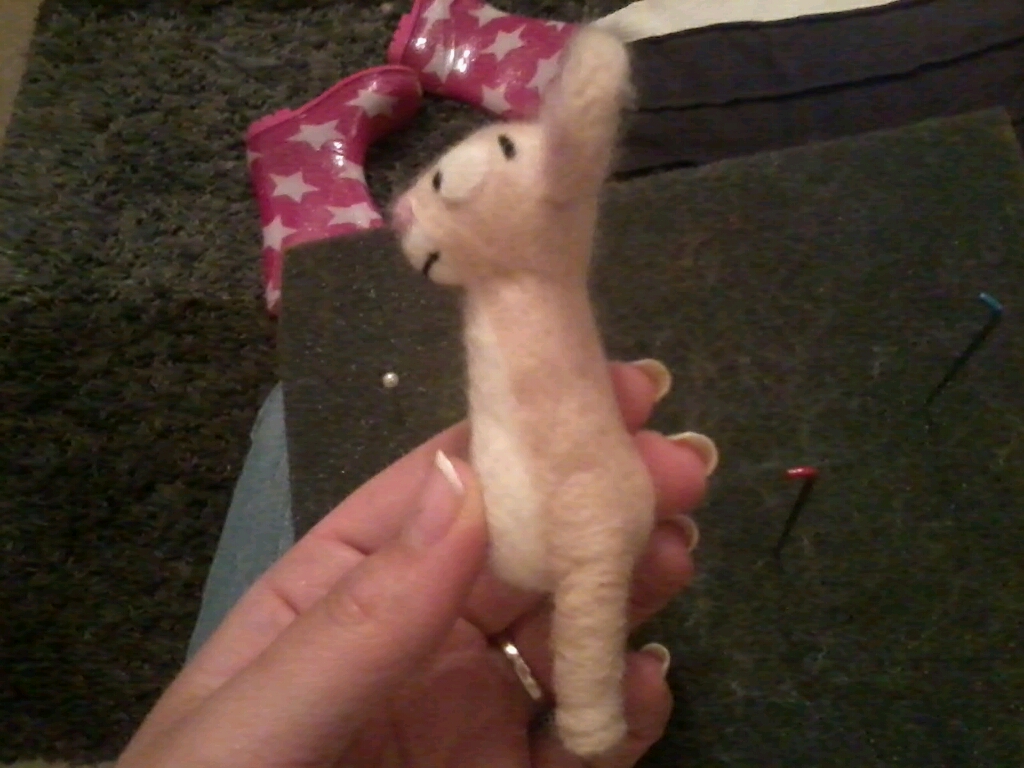
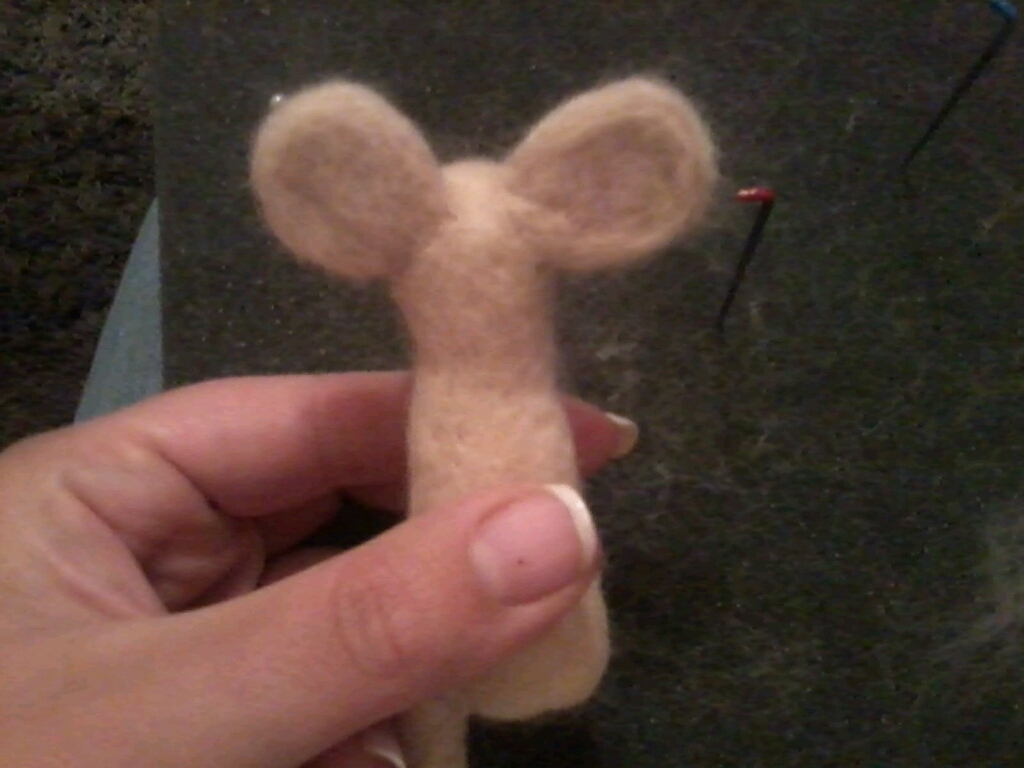
Then I added more stuffing to build up the shape of his head & tummy. Once I was happy with the shape, I added fur (this was the most suitable of all the colours I had) I think that really the mouse should be a little darker & slightly more 'tanned' colour, but hey, I had to make the best of what I had available. Anyhoo, I then added white for his tummy and then the detail of eyes, eyebrows, smile and his ears:
Then, I attempted to start on his limbs... Well... a leg! I say attempted, because I really have no clue as to how it's supposed to be done. This is what I have come up with so far...
I'm not too happy with this leg. Its a bit wobbly. I think I may take it off & start over. But it was getting late, and I needed to get to bed so I will come back and finish him off (once I have done a bit more research into how to make limbs!). There are quite a few things that I think need 'tweaking' but I will do that once all his arms and legs are finished.


Update: I think I've figured out the arm and leg dilemma. His legs are slightly uneven but that's because I didn't figure it out until I got to the arms. For the arms I made a sausage shape then cut it in half so they were the same length and thickness. Here he is all finished.

Monday, 12 August 2013

Paper Mache Easter Egg Surprises

So, I decided that instead of buying Easter eggs for the kids this year, I would make them something fun and personalise them. And what is more fun than paper Mache (fun for me anyway!)

I decided the easiest way to make the paste was with PVA Glue mixed with water. I used small balloons and did 2 or 3 layers of paper Mache allowing to dry fully between layers. I used one of those hanging things with pegs on, usually for drying socks and underwear, lol and hung the balloons near the radiator.

Then when dry I painted them different colours and decorated them in various styles. I then painted a layer of PVA glue all over and allowed to dry. This works like a varnish to give a nice shiny finish.

I then cut the eggs in half using a Stanley knife blade. I painted a layer of glue on the inside and lined with tissue paper.

The final part was to glue a thin ribbon round the outside to hold the egg together. Added a pretty name tag to the ribbon and then once it was all dry: filled it with Easter treats and tied it closed with the ribbon.

I think they look quite good for a first attempt. I haven't done paper Mache for years!